Thursday, September 15, 2016

Fermentationist Certification: Ferment 11 ~ Kombucha

Kombucha


Kombucha with Raspberries

Kombucha (also known as KT for Kombucha Tea) originated in China, although some sources claim that it is originally from Russia.

Health Benefits of Kombucha:
  • Traditional longevity tonic
  • Miracle elixir
  • Alleviates arthritis, rheumatism, and gout symptoms
  • Possibly reduced blood pressure
  • Regulates appetite
  • Reduces sugar cravings in some people
  • Has an antimicrobial effect on bacteria, yeasts, and viruses
  • Improves skin, hair, and nails
  • Reduces stress, nervousness, and insomnia
  • Stimulates digestion
  • Normalizes bowel movements
  • Supports intestinal flora
  • Been shown to relieve or cure hemorrhoids

When Not to Drink Kombucha:

If you are taking medications, are an alcoholic, diabetic, alcohol sensitive, caffeine sensitive, sugar sensitive or have Candida, kombucha may not be the drink for you.


Ingredients for a small batch brew:
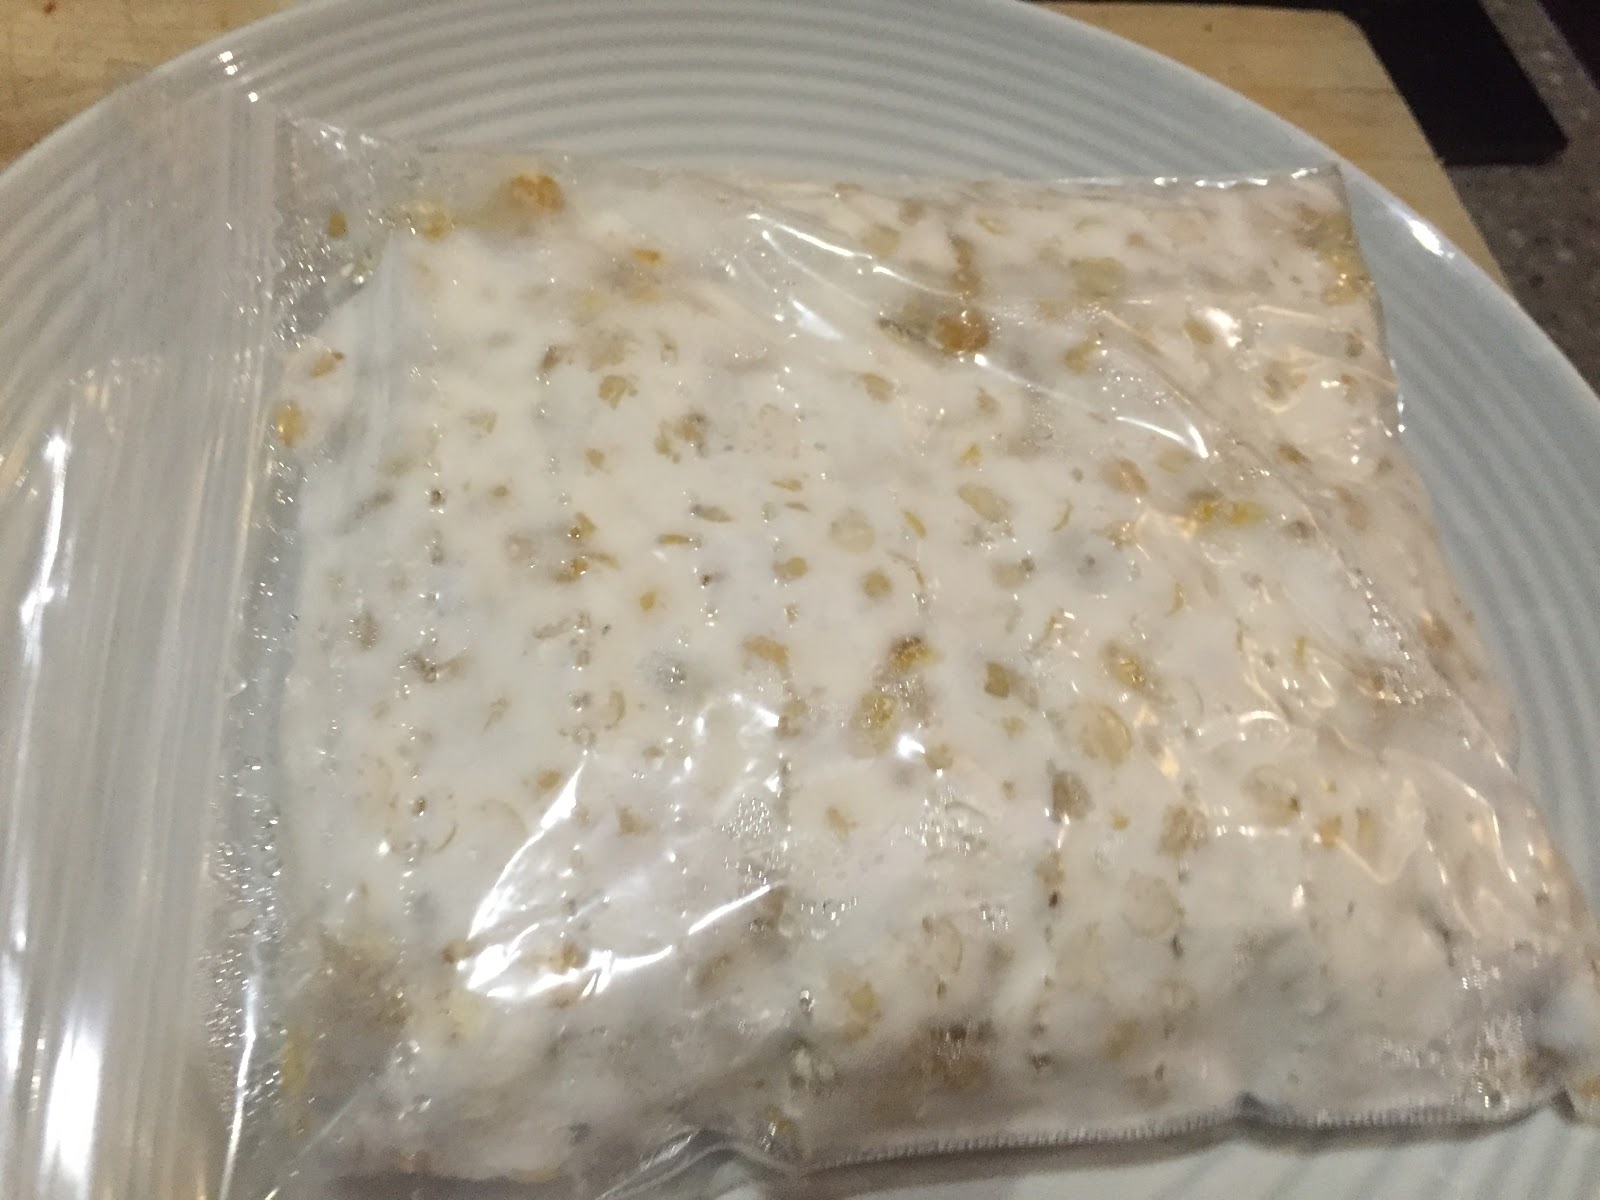
SCOBY


  • fresh SCOBY (Symbiotic Culture of Bacteria and Yeast)
  • 1-2 cups of mature kombucha tea starter
  • 1 gallon (just under 4 litres) of chlorine-free water 
  • 1 cup sugar
  • 1 tablespoon black, green, or red tea

Step by Step:

  1. Heat 1 quart (approx. 1 litre) water to just below boiling.  Add in tea.  Note that if you are adding hot water directly to your brewing vessel, make certain it is not cold to avoid cracking.  Let the tea steep for 5-15 minutes and then remove tea leaves.  The best types of teas for kombucha are black, oolong, green, white and pe-erh which all come form the same plant, camellia sinensis.  You want to use organic and fair-trade teas as they avoid toxic pesticides and oils.
  2. Add sugar to hot tea and stir the contents until fully dissolved.  Evaporated Cane Juice (also known as raw sugar) is my choice for brewing Kombucha.  The sugar is processed enough for the kombucha microorganisms to consume it easily but also retain its vitamins & minerals such as calcium, magnesium, potassium and iron.  Plain white sugar is the classic choice as it puts the komucha microorganisms into overdrive as it is a highly refined fuel source.  Being in the nutrition field, I sometimes ask myself what is in it and what chemicals were used in its refining process.  Warning: Do not use raw honey as its native bacteria will compete with the kombucha microorganisms.  If you are interested in using honey, you will want to brew the mysterious Jun.  Stay tuned for an article on the differences between Kombucha & Jun!
  3. Pour the remaining 3 quarts (approx. 3 litres) of cool water into brewing vessel along with the brewed tea.  With a clean finger, dip your finger into the tea to gauge whether it is body temperature (38 C).  Note that you do not want to place the SCOBY into hot water or it will die.
  4. With clean hands, carefully place the SCOBY in the sweetened tea.  Pour the starter liquid on top of the SCOBY.  Note that this will acidify the pH of the mixture near the top where the SCOBY is.  
    Freshly mixed ~ note the darker colour
  5. Cover the vessel with a clean, breathable cloth secured with a string or rubber band.  Set in a warm location (ideally 24-29 C) and keep it out of direct sunlight.
    Covered & Aging
  6. Allow the sweet tea mixture to ferement for 7 to 21 days.  After approx. 5 days, you can start tasting it each day to discover your preferences.  The best way to taste your brew and not introduce any pathogens is by carefully inserting a straw beside the SCOBY and taking a sip.
  7. Once your brew ages to your preference, it is ready to harvest.  Before you do anything, make sure to collect at least 1 cup for the next brew from the top portion.  If you have an aged brew, one cup should be fine and if you have a young brew, you may want to be safe and collect 2 cups.  Then you take the SCOBY out and put it into a bowl and cover.  This is done not to disturb the yeast at the bottom which is fine for drinking but you don't want it for your mature starter liquid.
    Colour after aging
  8. What remains is yours to consume either straight from the vessel or flavour in a secondary ferment.  Flavouring kombucha is probably the most creative part of this entire process!  Fresh herbs, fresh fruit and ginger are some common flavouring choices.  Depending on the amount of sugar, it will reactivate the yeast and will cause carbonation in most cases.
  9. I personally like to do my secondary ferments in mason jars so I can take the fruit out prior to bottling.  Plus, my family knows what is ready and what is not!  Once you have flavoured your kombucha tea, you may then leave it at room temperature for 1-4 days to build carbonation and more flavour.
    Secondary ferementation in mason jars
  10. After the secondary ferment, bottle into EZ cap bottles and put in the fridge.  Don't forget to enjoy your homemade booch!
    Cheers!

Progress:

28.07.2016: Fresh brew and left on vacation
08.08.2016: Came back from vacation to find my finished brew & harvest time!

Update:  I have not been good with documenting my progress with all my batches of kombucha.  All summer I have prepared my batches around my trips.  My flavours have been very different from batch to batch all summer.   I plan to do a time lapse and tasting each day for you to watch the SCOBY form!  More updates to come soon.....

Tuesday, September 13, 2016

Fermentationist Certification: Ferment 10 ~ Tempeh

Tempeh


Tempeh originated in Indonesia and is one of several Asian culinary moulds. Similar to the European method of using mould to ferment cheese, they have long been used in Asia to ferment grains and legumes. Tempeh has become popular throughout the western world as interest in plant based diets has increased.  Tempeh is traditionally made with soybeans however other legumes may be substituted.  Grains such as brown rice may also be mixed with the legumes or fermented on
their own.

Health Benefits of Tempeh:

The processing involved in making tempeh decreases the level of phytic acid in the legumes. The bio- availability of certain minerals, such as zinc and iron, is improved while the total concentration of many minerals, including calcium and magnesium, is increased. Tempeh is more easily digested than cooked soybeans, with reduced oligosaccharides and improved protein availability. Tempeh is a source of Vitamin B12, making it an excellent addition to a vegetarian diet.


Compared with raw soy beans, tempeh:
  • is more digestible
  • has improved vitamin B12 content
  • has bacteriocins which stop contamination
  • has an increased folate content
  • has reduced levels of trypsin inhibitors
  • is fibrinolytic subtilizing meaning it refines the process of breaking apart blood clots
  • has antioxidative properties
  • has GABA, HAA, and isoflavonoids

Ingredients:
Starter from Cultures For Health

  • 2 cups dried soybeans
  • 2 tbsp vinegar
  • water
  • 1 packet culture

I purchased my starter from Cultures For Health.  I brought it in from the US so if any of you Canadians want some, I have several packs of Traditional and Soy Free.


Step by Step:

Measure 2 cups of dry soybeans

Soybeans must first have their tough outer hulls removed. If the hulls are left intact the mold cannot penetrate the bean and spoilage will occur instead of fermentation.

De-hulling beans:
Soaking

  • Soak the beans in fresh water overnight or for 10-12 hours. the beans may triple in size, so use a large pot and plenty of water.
  • Massage the beans with your hands and keep working until the beans are all split.  The hulls will float to the top.
  • Use a colander to drain out the water.  It may take several rinses to remove all the hulls.
***If you own a burr-type grain mill, you will save some time and some possible hand cramping!***


Put the beans in a large pot and add fresh water to cover by 3-4 inches.  Bring to a boil and cook, uncovered, for 30 minutes, until the beans start to become tender but are not yet soft. As the beans are cooking more hulls may rise to the surface ~ skim these off. (There may still be hulls left in the beans after cooking is complete ~ this is fine ~ as long as they have separated from the beans the fermentation will proceed normally.)

Drying

Drain the beans and spread on a towel to dry and cool.  


Poking holes through baggy

While the beans are cooling, prepare a 1quart ziplock bag to ferment them in. The mould requires oxygen, so the bag must be poked all over with a pushpin, thick needle or a fork to create holes. Space them about ¾” apart.


Ready to incubate
When the beans are dry, place them in a large dry bowl and toss with the vinegar, and then the culture. Stir well to make sure the culture is evenly distributed. Pour the inoculated beans into the prepared ziplock bag, seal it, and flatten into a thick pancake. It should be approximately 2” thick.

To culture the mould, the inoculated soybeans must be incubated at a temperature of 85° to 91°F or for 24-48 hours. Verify the temperature using a thermometer placed in the beans, rather than next to them.  

The tempeh is ready when the mycelium has spread all throughout and around the soybeans, making a firm cake. If the tempeh is left to ferment long enough, sporulation may occur, causing black spots to form on the white mould. This is normal, although the flavour will be a bit stronger. Try eating tempeh at different stages to see which taste you prefer.

What to expect:

0-12 Hours ~ Maintain heat using a dehydrator, insulated container or oven with a pilot light.
12-24 Hours ~ The fermentation should cause the beans to generate their own heat at this point.  When this occurs, reduce or eliminate the external heat source.
24-36 Hours ~ After 24 hours, white spores will begin to cover the surface of the beans and will continue to grow through the bean mass.
36-48 Hours ~ After 36-48 hours, when the beans have become a firm mass held together by the white spores, the tempeh is finished.  This can take up to 4 days.

Progress:

0 hours ~ 05.09.2016 @ 2PM ~ I used a dehydrator to incubate my tempeh.  I also used starter that I received from a friend.  I used 2 tbsp for this batch of tempeh.

1-7 hours ~ 05.09.2016 @ 3-9PM ~ I had trouble keeping the temperature between 85° & 91°F.  What worked for me is putting two glass crocks full of boiling water near of the front of the dehydrator and the tempeh at the back of the dehydrator.

My preferred setup in a dehydrator

16 hours ~ 06.09.2016 @ 6AM ~ Temperature was down to 77°F by the time I woke up.  I got it back up to temperature by boiling more water.
20 hours ~ 06.09.2016 @ 10AM ~ Tempeh started making its own heat.  It got up to 101°F before I caught it and allowed heat to escape.
25 hours ~ 06.09.2016 @ 3PM ~ Temperature has been constant at 94°F ~ Mycelium starting to spread throughout soy bean mass.

@ 25 hours ~ side 1
29 hours ~ 06.09.2016 @ 7PM ~ Soy beans are now one mass.  I started to see some sporulation (grey spots) starting to form.

@ 29 hours ~ side 1
@ 29 hours ~ side 2

35 hours ~ 07.09.2016 @ 1AM ~ Woke up to find temperature at 105°F and was unable to cool it down.  I stood it upright on the counter so both sides could cool.  It is amazing how much heat this process generates!!!

@ 35 hours ~ side 1

@ 35 hours ~ side 2

41 hours ~ 07.09.2016 @ 7AM ~ Harvest time ~ I had to leave for work so I decided to unwrap it and let it cool down before putting it into the fridge.  I probably would have let it go a little longer if I could monitor it closely.

@ 41 hours ~ side 1
@ 41 hours ~ side 1

@ 41 hours ~ side 2

11.09.2016:  Tempeh needs to be cooked before eaten.  I decided to make a peanut sauce and fry up the slices in coconut oil.

Enjoying my Tempeh


Saturday, September 10, 2016

Fermentationist Certification: Ferment 9 ~ Idlis

Idlis

History Of Idlis

Idlis originated in southern Indian cuisine over 1,000 years ago. The word Idli comes from two Tamil words "Ittu" and "Avi" (To lay the steam). The first mention of idlis in writing was in 920 A.D.,and it seems to have been created from only black lentils. There is no record of rice being added to the recipe until the 17th century. The addition of rice may have been to help speed up the fermentation process.

Although the ingredients of Idlis have changed over the years, the preparation process and name have remained the same.

Health Benefits of Idlis 


Idlis is a gluten free food made from only rice and lentils. By soaking the ingredients you are predigesting compounds that are difficult for your body to digest. This allows for greater availability of the nutrients from this food. In a single idli, you consume 2 grams of protein, 2 grams of dietary fiber, and 8 grams of carbohydrates. For a light snack this is a notable amount of protein and fiber with minimal carbohydrates. As you know, protein facilitates muscle repair, carbohydrates provide energy and fiber promotes healthy digestion while bulking the stool. Additionally, one idli contains 1 mg of iron as well as trace amounts of calcium, folate, potassium, and vitamin A. The iron is mostly from the lentils, with about 25% of it from the rice. Iron keeps your blood oxygenated and is crucial for any diet. There are not any probiotics left in this food after the steaming process however, idlis
do have a way of making a delicious food more digestible.

How it all works


Idlis are a steamed, naturally leavened cake with a unique, fluffy texture. They are made from a mixture of ground rice and beans, which give them a taste that is mild and savory.  Idlis made from urad dal (white lentil) is the most traditional. No culture is added to this wild ferment. Idlis results from the combination of a warm temperature and the wild yeast form the lentils.  It is the wild yeast and anaerobic bacteria on the urad dal, which aids in the fermentation process.  After the lentils are mixed with water and rice, its pH drops to below 4.5 when left to ferment. It has been shown that anti-nutrients such as phytate and tannins are reduced during the fermentation period, making the nutrients better available. The yeast works its magic over several days, resulting in delicious, fluffy bread.

Ingredients


  • 1 cup Indian lentils (Urad daal) or other dried bean
  • 2 cups white basmati rice or short grain brown (white has the best results)
  • 2 tsp sea salt
  • 2 T whey or lemon juice
  • warm filtered water
  • idli steamer (an egg poacher or muffin tray can also be used)


I purchased my idli steamer here.

Step by Step

Soak:

Wash lentils and rice well and place them in a bowl or jar. Cover them with warm water, add 1 tablespoon whey or lemon juice and leave to soak for two days in a warm place. You can soak them separately or together, but make sure your ratio is 1:2 (bean: grain).


Drain & Grind:

Drain your grains and lentils (don't rinse) and grind them in a food processor using the same water they have been soaking in, but not all of it. Use a minimum amount of the water until it's a smooth, soupy paste.


Blend:

Blend the lentils and rice dough with salt. The salt must be non-iodized, or the batter will not ferment! Pickling salt, kosher salt and unrefined sea salt work well. The dough should be rather firm.


Before blending

After blending

Ferment:

Cover and leave in a warm place to ferment for 2-4 days. You know it's ready when the dough has risen significantly, and the odor has gone from harsh and beany to mild and savory. Fermentation time will depend on the ambient temperature. Grind the mixture again before cooking in order to get it as smooth as possible.

Pre-Ferment

Prepare Your Idlis:

Fill well oiled idli egg poaching cups with balls of rice/lentil mixture, cover and steam until a
knife inserted into them comes out clean, about 15-20 minutes. I steamed mine for 20 minutes. Don't touch the lid while cooking! If you don't have an Idli steamer, you can also bake them at 350 F in muffin tins. It's not traditional, but it works.

Before Steaming

After steaming

Progress:

Attempt #1

22.07.2016: Started soaking at 7PM ~ I used whey as my starter
24.07.2016: At 2PM, the mixture seemed over fermented and smelled rotten.  I scraped off the foamy bits and I still couldn't trust the smell of it since I knew I had to ferment it for longer.  I threw out this batch.


Attempt #2

24.07.2016:  Started soaking mixture at 3PM ~ I used why as my starter
26.07.2016:  7PM ~ My mixture is beautiful and smells nutty rather than rotten.  The temperature has been the same.  The only difference was that I measured the whey exactly this time and I approximated it the last time.  I did put more in than I should have and I think that is what caused it to over ferment.

26.07.2016:  Blended mixture to let sit for another ferment


27.07.2016:  Checked the mixture at 6AM.  It had risen quite a bit.


27.07.2016:  Checked the mixture again at 6PM.  I decided to harvest today as I was scared if I left it another night, it may rise out of the bowl.


27.07.2016:  At 6:30 PM, I oiled my idli steamer and filled the cups.


27.07.2016: At 6:50 PM I took the idlis out of the steamer and let cool.


These are traditional served with Dahl.  I found they reminded me of dumplings.  There are so many recipes online so be creative and make a feast out of it.  I am leaving on vacation in the morning so I froze them all.  I will update you all when I decide to make an Idian feast with my Idlis!!!

Tuesday, September 06, 2016

Fermentationist Certification: Ferment 8 ~ Vinegar

Vinegar


History of Vinegar

“Vinegar, son of wine.” Hebrew Proverb

Unpasteurized vinegar has traditionally been considered a healthful tonic. Vinegar translates to “sour wine” from the French, and has existed since people first discovered how to make wine. However, the distilled white vinegar that is now a staple in our grocery stores and pantries is a cheap commodity food, mass produced to be flavourless, and with no benefit for health. Traditional vinegars, made using quality alcohols and live cultures are a healthy living food which provide complex flavours to enhance a meal, and can even be drunk on their own.

Vinegar has been produced for several thousand years. While many other ferments came about because they better preserved the product such as sauerkraut, beer, wine, and cheese, vinegar is in itself a preservative—being credited as the world’s first preservative. It can be used to preserve other perishable items—ones that cannot be fermented on their own.

The kind of vinegar is determined by the starting materials. Red wine vinegar, white wine vinegar, malt vinegar, and apple cider vinegar for example. Whatever you start with will greatly impact the flavour of the final product. This is why distilled vinegar has no other flavour except the acetic acid. The beginning product is pure distilled alcohol (usually from grains). This is how we get our white vinegar.

Today's focus in Red Wine Vinegar!
Supplies I used!


Supplies:

Your favourite Red Wine
Mother of Vinegar (MOV)
Red Wine Vinegar Pellicle


What is Mother of Vinegar?

Mother of vinegar is a colony of bacteria.  These are the good bacteria called Acetobacter.  They perform the same purpose for making vinegar as yeast does to make wine.  They form the mother on the surface since they require oxygen to convert wine to vinegar and the surface is where the air is at.  

I purchased mine at www.amazon.com

Mother of Vinegar (MOV) from Supreme Vinegar

What is a Vinegar Pellicle?

A Vinegar Pellicle is just a fancy word for Mother or it may even be referred to as a SCOBY.  If you don't have one, you can grow your own with simply using the Red Wine and Mother of Vinegar.  I was given one from a friend so I used it!

Red Wine Vinegar Pellicle

Step by Step:

Red or white wine may be fermented into vinegar using either unpasteurized red wine vinegar or white wine vinegar as a starter culture. Wine containing sulfites may be used, but it must not have been preserved with potassium sorbate or sodium benzoate (see below for additional info on Sulfites). Alcohol levels higher than 7% can inhibit the acetobacter, so when fermenting wine it is necessary to add a little water. Use the ratio of 2 parts  wine to 1 part water and 1 part vinegar. Pour 2 cups of wine, 1 cup of water, and 1 cup of unpasteurized vinegar into a jar or crock, making sure that it is no more than half full.

What about wine Sulfites?

A lot of people try to make wine vinegar and fail.  They are frustrated, but don't realize almost all modern commercial wines are made not to become vinegar on purpose.  This is done by adding sulfites, which inhibit the vinegar bacteria.  Typically red wine has 20-40 ppm of sulfites.  there are two ways to get rid of them.


  1. Stir the wine continuously for about 30 minutes.  It is a lot of work and not always effective.  This is the option I chose for this blog post. I stirred my wine for an entire hour!!!!               
  2. Add hydrogen peroxide.  This is completely harmless.  Just use the regular 3% hydrogen peroxide from any drug store.  Each ml you add and stir in removes 10 ppm if sulfites from a bottle of wine.  A good amount per bottle is 1/2 teaspoon which is 2.5 ml.  This will almost assuredly reduce the sulfites to a manageable level. 


Cover the top with cheesecloth or a thin towel to allow it to breathe.

Voila!  Now its time to wait :)

How long does vinegar take?

It can take anywhere from 6 weeks to 12 weeks or more depending on several factors.  Patience is key, but there are two steps one can take to speed up the process:


  1. Air contact area: if you are using a narrow bottle, the mother only has a small surface to form on.  The size of the mother is directly related to the speed of vinegar fermentaion so a wider vessel is better if speed is a concern.
  2. Temperature:  The best temperature for vinegar fermentation is 80-85 degrees Fahrenheit.  If you can't maintain that, don't stress.  Just try not to get it cold, ie. below 65 degrees.

When is my vinegar done?

There are several ways to determine this.  The most common is to sample the smell and taste until it is to your liking.  Remember, vinegar is pungent and acidic.

More accurately, one can use a pH meter.  These can cost between $25-$75 at a homebrewing store.  Once your pH is below 4, your vinegar is safe and almost all vinegar is finished with a pH less than 3.5.

Progress:

11.08.2016:  Start date
18.08.2016: Week 1 ~ smells like wine ~ temp between 80-85
25.08.2016: Week 2 ~ smells like wine ~ temp between 80-85 ~ tastes acidic
01.09.2016: Week 3 ~ smells like wine ~ temp starting to cool with the fall hitting
08.09.2016: Week 4 ~ smells like wine